Sweet Scones Started It…Then We Went Savory
If you’ve already made my Blueberry Scones, then you know two things about me.
First, I firmly believe scones do NOT have to be dry.
And second…I have a bit of a scone obsession.
My blueberry scones have developed quite the reputation around here. Our son, Louie, lives in Miami, and whenever he comes home for a visit, one of his first requests is, “Mom, are you making the blueberry scones?” We’ve even packed them up and delivered them to family and friends because they disappear so quickly.
So when we stopped at a local farm recently and picked up a couple of cheddar chive scones, I was intrigued.
They were delicious.
But on the drive home Lou looked at me and said,
“Leanbean…you can make these better.”
Well…
Challenge accepted.
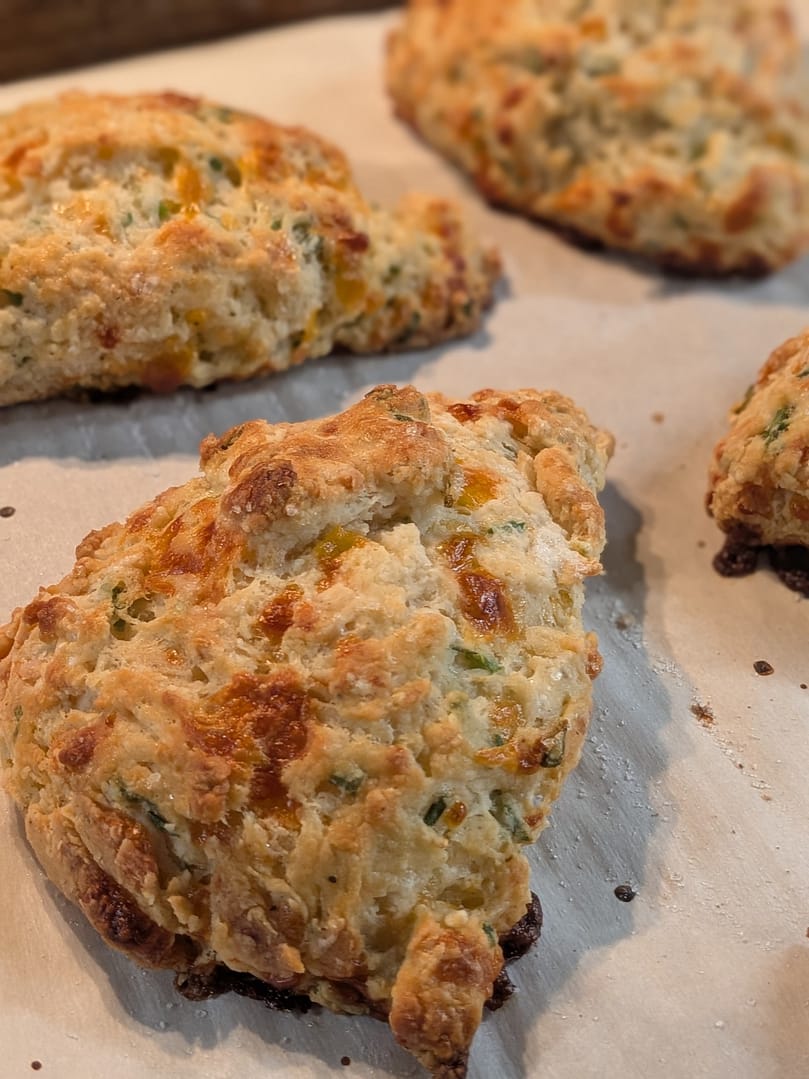
After one bite of my homemade version, I knew this recipe was staying in the collection. They’re buttery, flaky, packed with sharp cheddar, fresh chives, and just enough garlic to make them completely irresistible.
Apparently, this whole scone thing is becoming a hobby. And honestly? I’m perfectly okay with that.
Why You’ll Love These Cheddar Chive Scones
These aren’t biscuits pretending to be scones.
They’re true bakery-style scones with tender layers, crisp golden edges, and buttery pockets throughout every bite.
They’re perfect for:
-
- breakfast
-
- brunch
-
- alongside a bowl of soup or chili
-
- with scrambled eggs
-
- on a charcuterie board
-
- or simply warm from the oven with a little butter.
They’re savory without being heavy, cheesy without being greasy, and every bite has little bursts of fresh chives.
Ingredients for the Best Cheddar Chive Scones
You’ll need:
-
- all-purpose flour
-
- granulated sugar
-
- baking powder
-
- garlic powder
-
- salt
-
- ground black pepper
-
- fresh chives,
-
- shredded sharp cheddar cheese
-
- unsalted butter, frozen
-
- buttermilk
It’s Still All About the Butter
Remember my blueberry scones?
The same secret applies here.
Frozen grated butter is absolutely the key.
When those tiny pieces of frozen butter hit the hot oven, they melt into the dough and create little pockets of steam.
That’s what gives these scones those beautiful flaky layers while keeping the inside moist instead of dry.
If you’ve never grated frozen butter before, trust me. Once you start making scones this way, you’ll never go back.
Fresh Cheese Makes a Difference
I know those bags of pre-shredded cheese are convenient.
I use them sometimes too.
But for these scones?
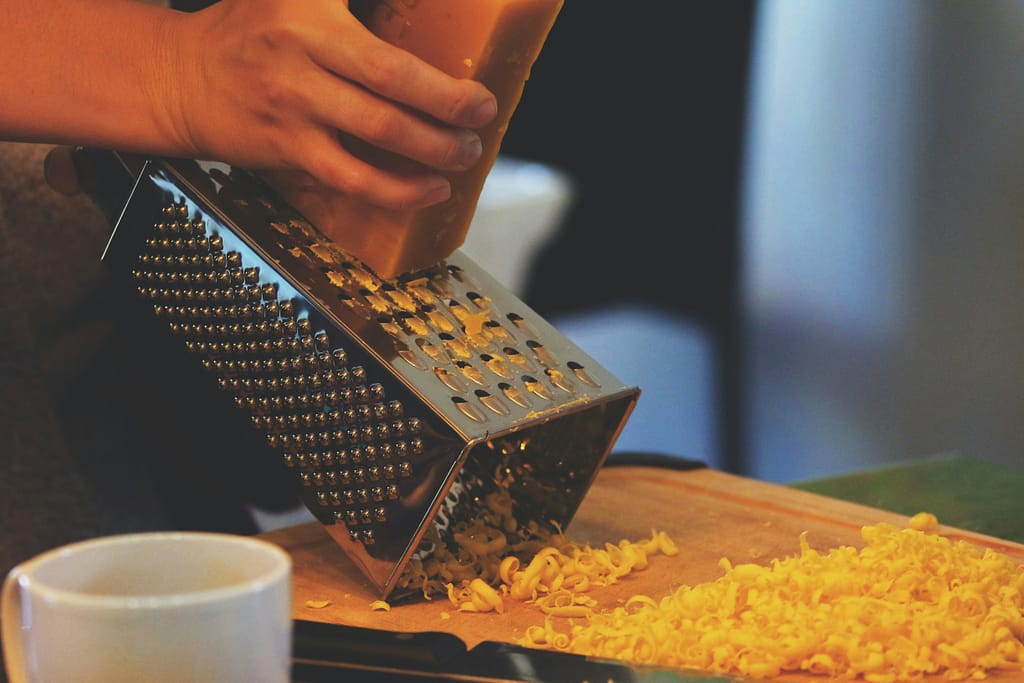
Buy a block of sharp white or yellow cheddar and grate it yourself.
Freshly shredded cheese melts better, tastes richer, and gives these scones those beautiful cheesy pockets that make every bite so satisfying.
It’s worth the extra three minutes.
How to Make Cheddar Chive Scones
Step 1: Preheat your oven to 400°F.
Step 2: Whisk the dry ingredients together until everything is evenly combined. This helps distribute the baking powder throughout the flour so your scones rise evenly.
Step 3: Grate the frozen butter. This is the secret to flaky scones. As the tiny pieces of butter melt in the oven, they create little pockets of steam that give the scones their tender layers. It’s the same trick I use in my Blueberry Scones, and it never disappoints. Add the butter to the dry ingredients using a pastry cutter or two forks, working the butter into the flour until the mixture resembles coarse crumbs with pea-sized pieces of butter.
Step 4: Add the fresh chives and freshly shredded cheddar, tossing them through the flour. Coating them in flour helps keep the cheese and chives evenly distributed throughout the scones instead of sinking into one spot.
Step 5: Pour the cold buttermilk into the flour mixture. Stir gently with a wooden spoon or spatula until the dough just starts coming together. It should look a little shaggy and messy. Resist the urge to keep mixing – those rustic bits are what become tender, flaky layers.
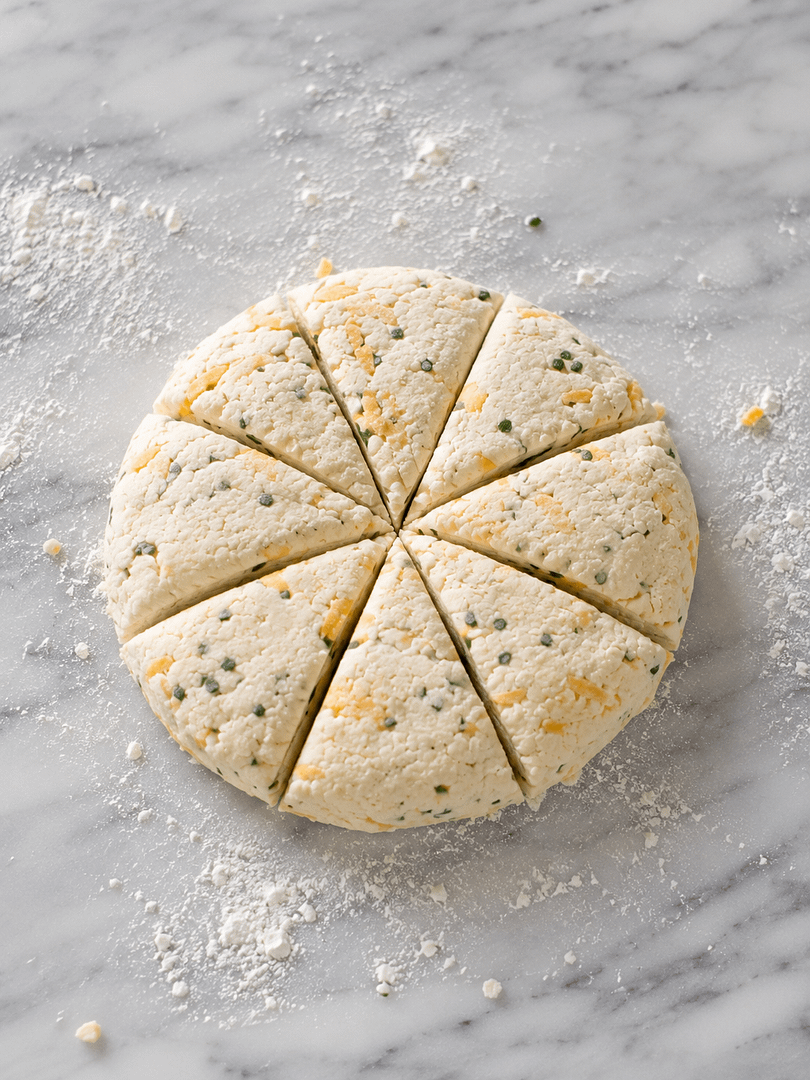
Step 6: Turn the dough onto a lightly floured countertop. It won’t look perfectly smooth, and that’s exactly what you want. Gently gather it together with your hands instead of kneading it like bread. Pat the dough into an 8-inch circle that’s about an inch thick. Don’t use a rolling pin – your hands are all you need. Press gently so you don’t squash those little pockets of butter you’ve worked so hard to keep cold. Cut into 8 wedges.
Step 7: Brush the tops with a little extra buttermilk. This gives the scones that beautiful golden bakery finish as they bake. Then sprinkle with a pinch of salt.
Step 8: Don’t skip the chill time! Refrigerating the shaped scones firms the butter back up after you’ve handled the dough. Cold butter is the secret to tall, flaky scones that hold their shape in the oven.
Step 9: Arrange the scones a few inches apart on a parchment-lined baking sheet.
Step 10: Bake until the tops are lightly golden and the edges are deeply browned where the cheese has melted onto the pan. (If a little cheese melts onto the parchment and gets crispy, consider it the cook’s reward!) Your kitchen is going to smell incredible. Mine are usually perfect at 23 minutes, but every oven has its own personality.
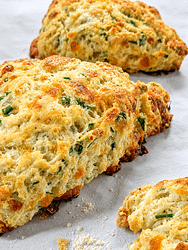
Cheddar Chive Scones
Equipment
- large mixing bowl
- Box grater
- Pastry cutter (or two forks)
- Measuring cups and spoons
- Bench scraper or sharp knife
- Baking sheet
- Parchment paper
- Pastry brush
- Wire cooling rack
Ingredients
- 2 cups all-purpose flour plus more for hands and work surface
- 1 tablespoon granulated sugar
- 2½ teaspoons baking powder
- ¾ teaspoon garlic powder
- ½ teaspoon salt plus a little extra for sprinkling on top
- ¼ teaspoon freshly ground black pepper
- ¼ cup fresh chives chopped
- 1 cup sharp white cheddar cheese freshly shredded
- ½ cup unsalted butter frozen
- ⅔ cup cold buttermilk
- 1 tablespoon buttermilk for brushing tops
Instructions
- Preheat oven to 400°F. Line a baking sheet with parchment paper.
- In a large bowl, whisk together the flour, sugar, baking powder, garlic powder, salt, and black pepper.
- Grate the frozen butter with a box grater and add it to the flour mixture. Using a pastry cutter or two forks, work the butter into the flour until the mixture resembles coarse crumbs with pea-sized pieces of butter. Refrigerate the bowl while preparing the buttermilk.
- Stir in the chopped chives and shredded cheddar cheese.
- Pour the cold buttermilk into the flour mixture and gently stir just until the dough comes together. Do not overmix.
- Turn the dough onto a lightly floured surface. With lightly floured hands, gently shape it into a ball, then flatten into an 8-inch circle about 1 inch thick. If the dough feels sticky, dust with a little flour. If it seems dry, add 1 to 2 tablespoons more cold buttermilk.
- Cut the dough into 8 wedges using a sharp knife or bench scraper.
- Brush the tops with the remaining tablespoon of buttermilk and lightly sprinkle with a pinch of salt.
- Arrange the scones on the prepared baking sheet, leaving 2 to 3 inches between each one. Refrigerate for at least 15 minutes while the oven finishes preheating.
- Bake for 22 to 25 minutes, or until the tops are lightly golden and the edges are nicely browned. (Mine are perfect at exactly 23 minutes, but every oven is a little different.)
- Let the scones cool on the baking sheet for 5 minutes before serving warm.
Notes
- Frozen butter is the secret to flaky, tender scones. Grate it straight from the freezer for the best texture.
- Freshly shredded cheese melts much better than pre-shredded cheese and gives these scones a richer flavor.
- Don't overwork the dough. Mix only until everything comes together.
- Chilling the shaped scones before baking helps them rise higher and keeps them from spreading.
- These are delicious served warm with butter, alongside soup or chili, or as part of a brunch spread.
Storage
Store in an airtight container at room temperature for up to 2 days, or refrigerate for up to 5 days.Freezing
Freeze baked or unbaked scones. For unbaked scones, freeze the wedges on a baking sheet until solid, then transfer them to a freezer-safe bag. Bake from frozen, adding 2 to 4 extra minutes to the baking time. To freeze baked scones, cool completely before freezing for up to 3 months. Reheat in a 300°F oven for 8 to 10 minutes until warmed through.What to Serve with Cheddar Chive Scones
These savory scones are delicious with:
-
- homemade tomato soup
-
- creamy potato soup
-
- chili
-
- beef stew
-
- scrambled eggs
-
- quiche
-
- brunch casseroles
-
- smoked salmon
-
- sliced ham
-
- chicken salad
Or honestly…
Eat one warm while standing at the kitchen counter!
No judgment here.
Tips for Perfect Scones Every Time
-
- Keep everything cold, especially the butter and buttermilk.
-
- Mix just until the dough comes together.
-
- Freshly grate your cheese for the best texture.
-
- Refrigerate the shaped scones before baking.
-
- Don’t overbake. You want golden edges, not dark brown tops.
A New Favorite Has Joined the Family
I never imagined my blueberry scones would lead me down the savory scone path, but here we are.
These cheddar chive scones have officially earned a permanent place in my recipe box. They’re everything I hoped they’d be: buttery, flaky, cheesy, and packed with fresh flavor.
Something tells me this won’t be my last scone recipe.
And honestly…
I’m kind of excited to see what flavor comes next!